Looking for something Else?
Overview
DASHBOARD > EMAIL > BATCH REPORTS > Edit email Content
This route to configure images for your batch report use is more advanced, however, once set up, allows for the easiest entry of images to your Batch Report Email body.
Step-by-Step
All images and visual content that is embedded via the photograph tool is required to be hosted from a user’s Google Drive Account.
Start by selecting “Configure Drive”

Setup Google Drive:
Step 1: APIs
“CommentBox” Project in Google [ CLICK HERE ] to create the link / API
-
- Use Project Name as ” CommentBox”, as highlighted below.
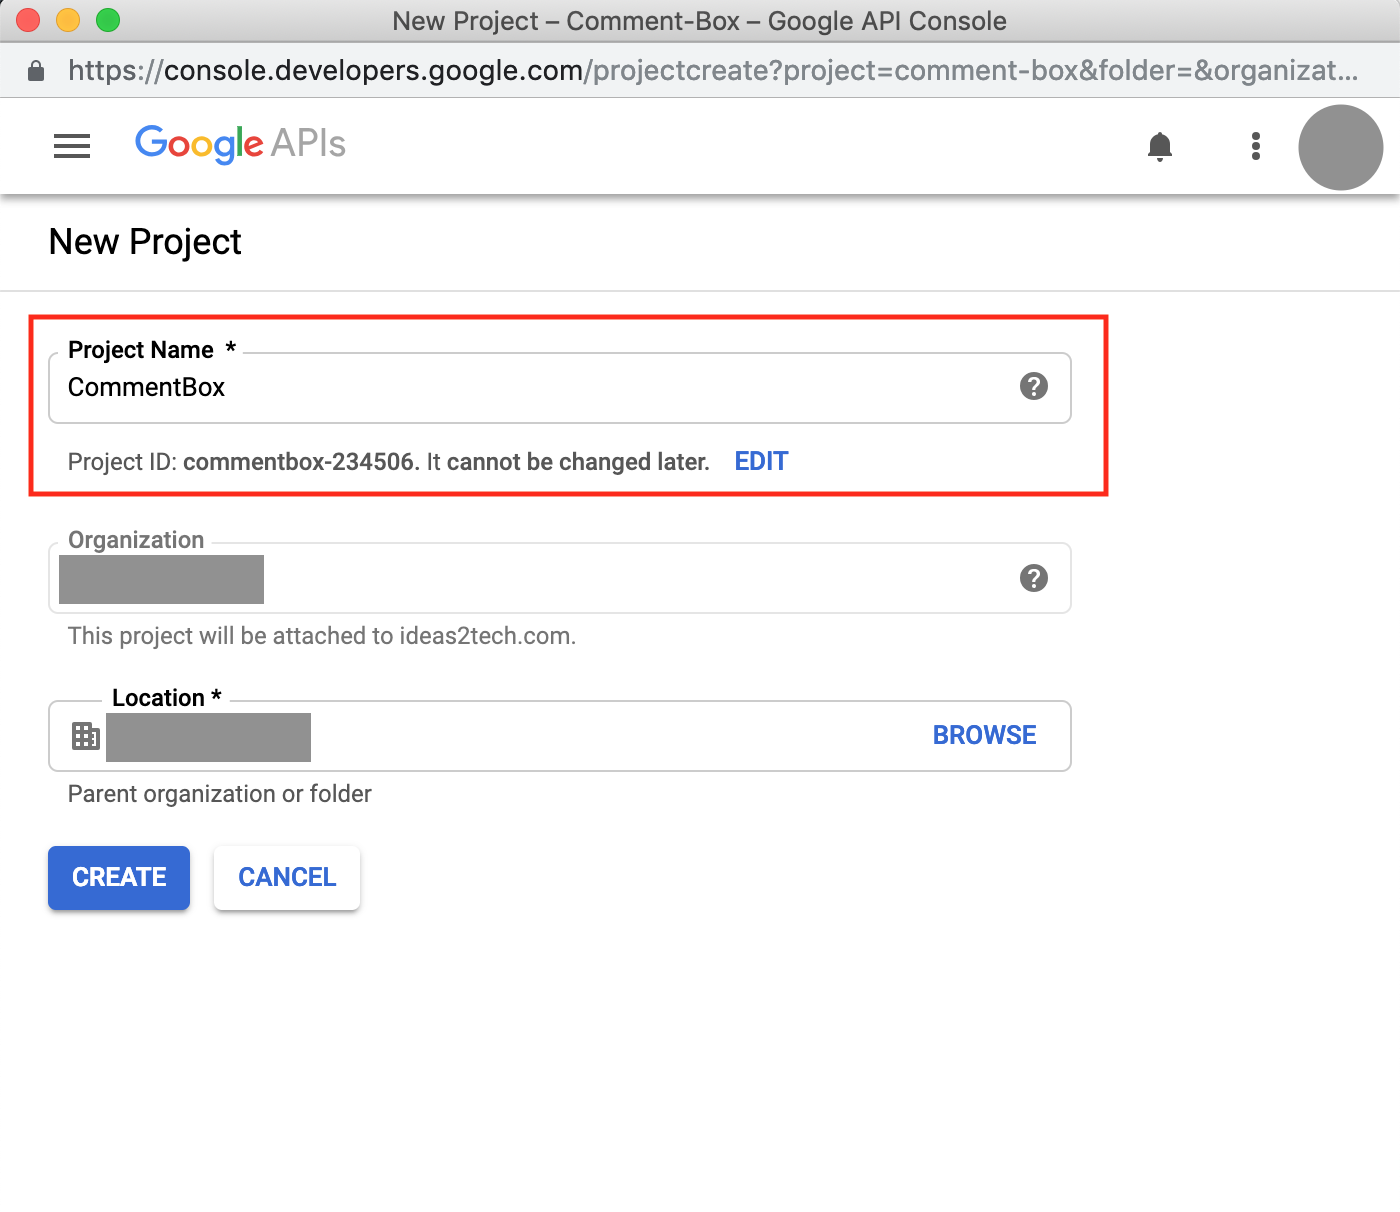
- Use Project Name as ” CommentBox”, as highlighted below.
Step 2: Enable
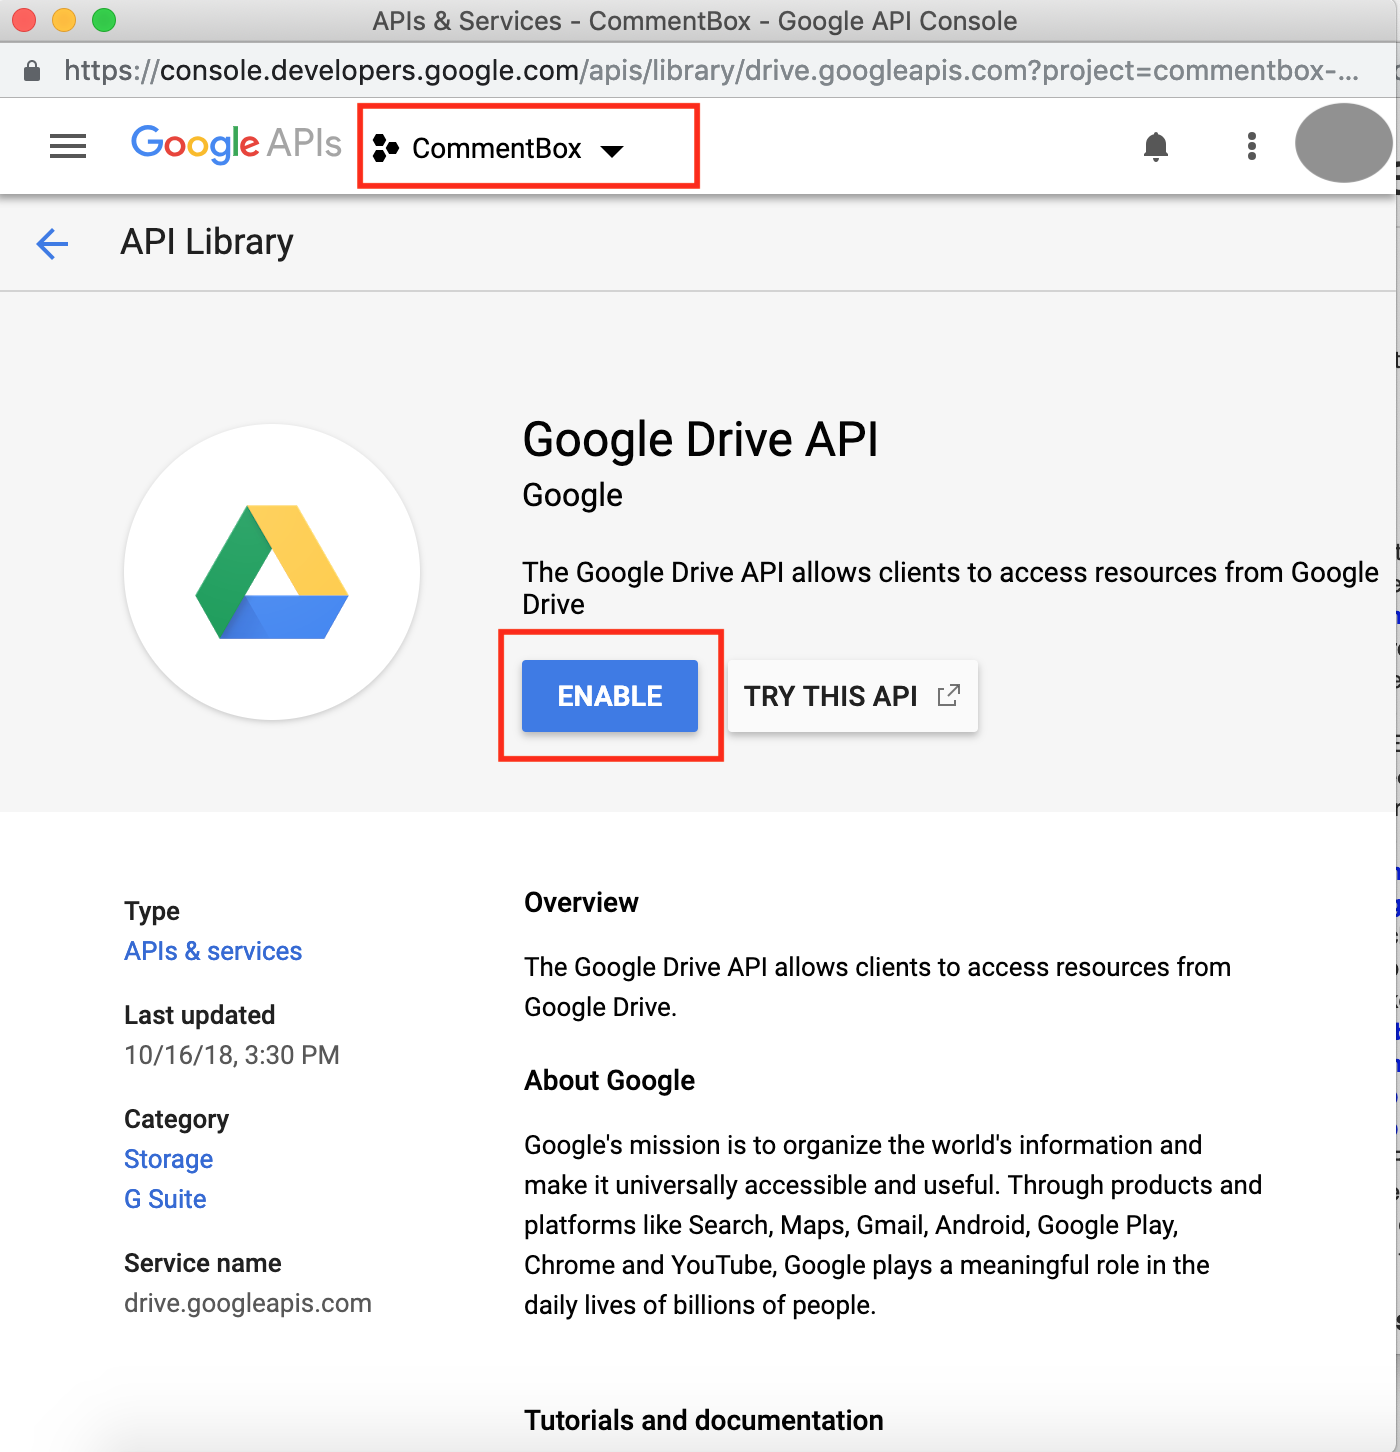
Enable “Google Drive API’ for above created Project, [ CLICK HERE ] to enable.
-
-
- Make Sure the “CommentBox” project is selected, as highlighted in the below image.
-
Step 3: OAuth
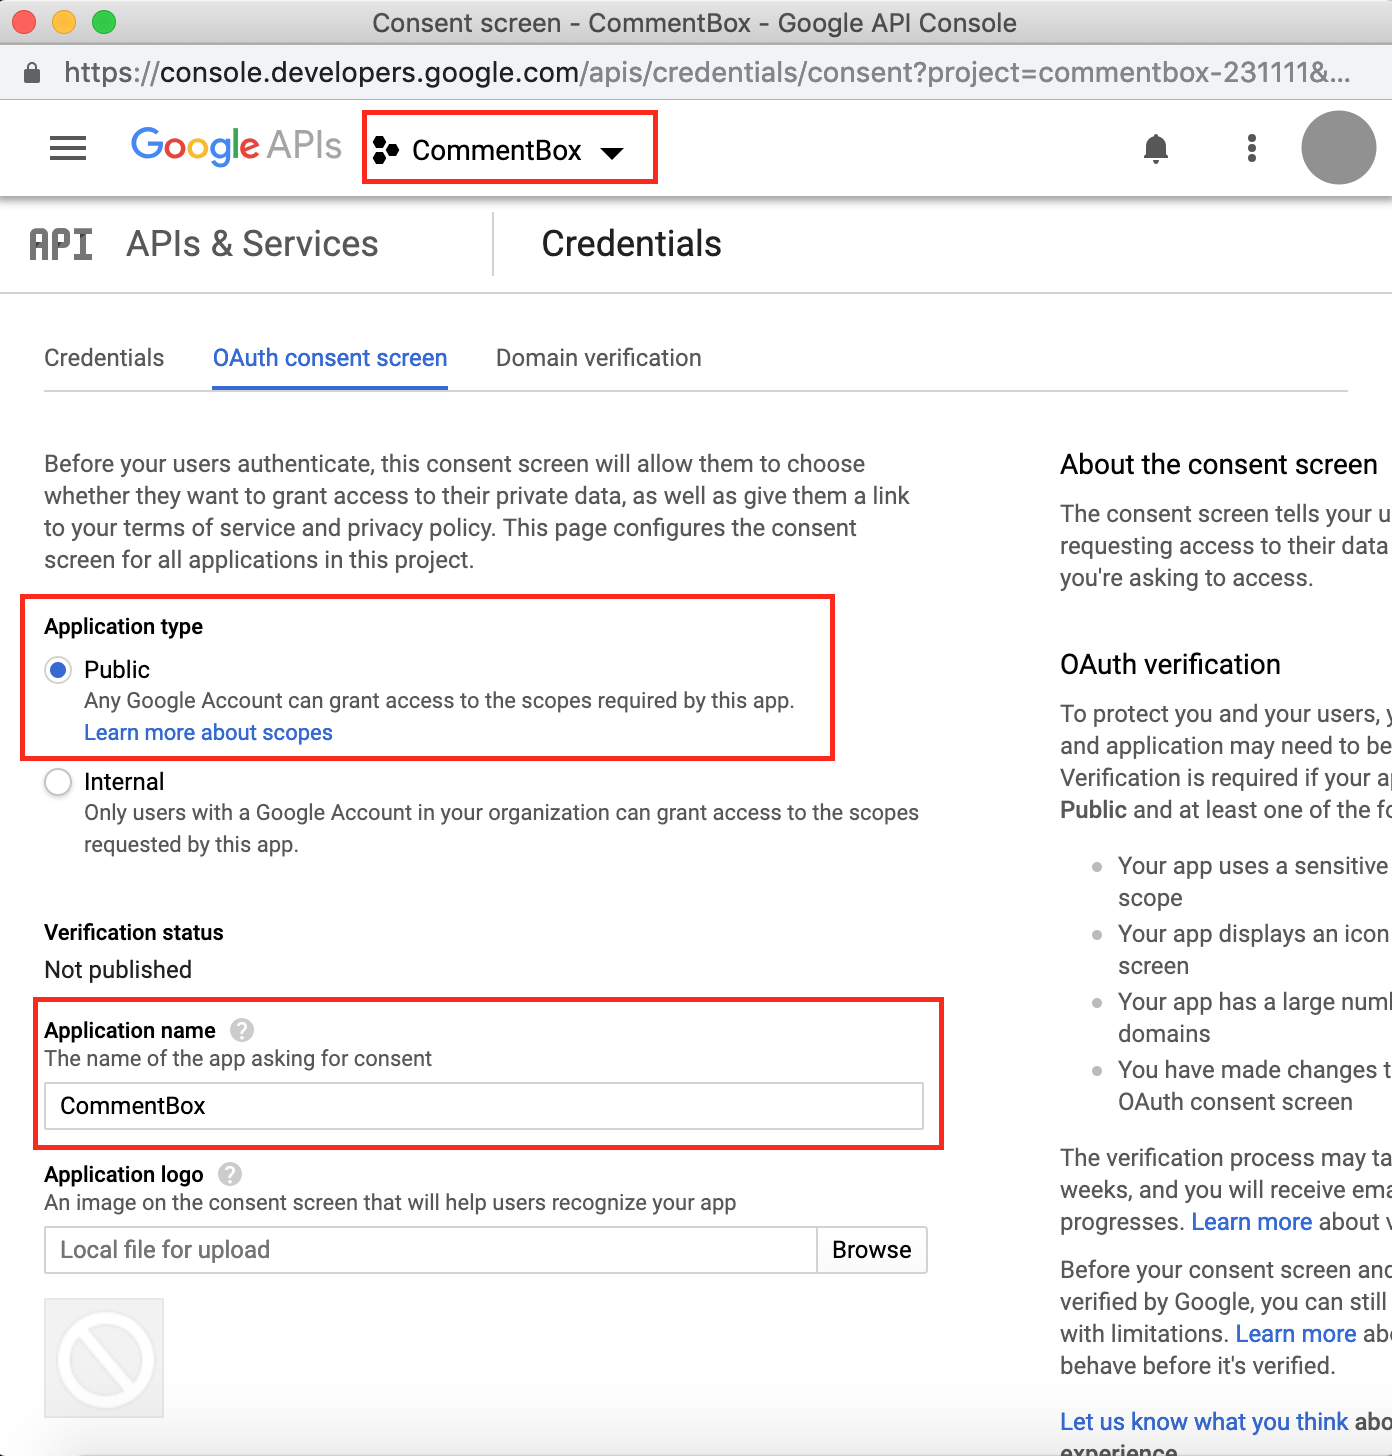
OAuth Consent Screen Setting [ CLICK HERE ]
-
-
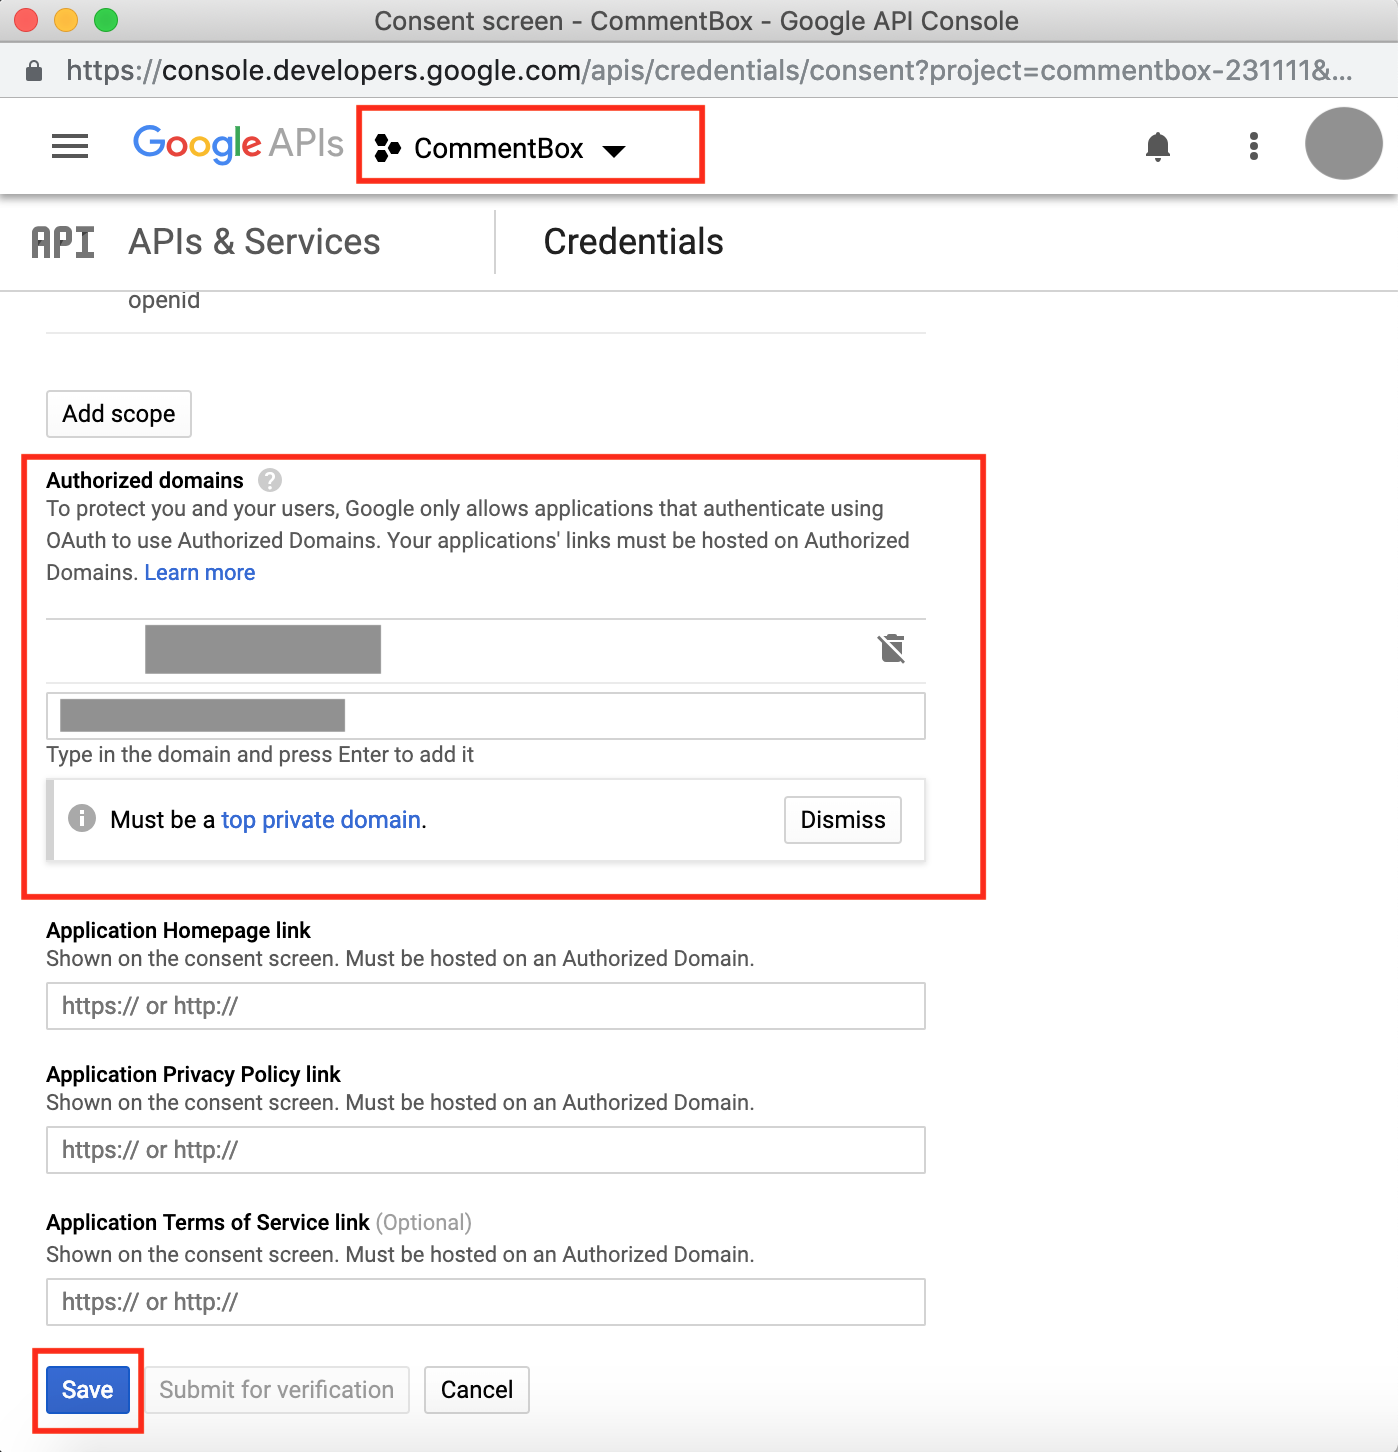
- Make sure the “Comment Box” project is selected as highlighted in the below image.
-
-
-
- Make sure, “Public” is selected in Application type, as highlighted in the below Images.(Optional)
- Make sure “CommentBox” is typed as text in the Application Name field, as highlighted in the below Images.
- Make sure to scroll down on the same page and type “bevcount.com” in the Authorized domains field and PRESS “ENTER” KEY on Keyboard to register the domain, as highlighted in below Images.
- Make sure to click “Save” button.
-
Step 4: Creds
Create & Download Credentials [ CLICK HERE ]
-
-
- Make sure “CommentBox” project is selected, as highlighted in the below Image.
- Make sure to select “Web Application”, as highlighted in the below Image.
- Make sure to type “CommentBox” in Name field, as highlighted in the below Image.
- Make sure to type / paste “https://bevcount.com” in ‘Authorized JavaScript origins’ field and PRESS “Enter” KEY on Keyboard, as highlighted in below Image.
- Make sure to type/paste “https://bevcount.com/integration/commentbox/integration.php” in the ‘Authorized redirect URIs’ field and PRESS “Enter” KEY on Keyboard, as highlighted in below Image.
- Make sure to hit the “Create” button.
- Note: If the system show any dialog/popup box then press Ok.
- Download Credentials file from newly created OAuth ID.
-